Quick answer: make sure the door lining and finished wall are close enough to the same plane first. Mark a consistent reveal around the lining, cut and dry-fit the head and side pieces, then fix the MDF architrave with grab adhesive and lost-head nails. Fill the fixing holes and caulk the small perimeter gaps before painting.
Make the door lining and wall ready before fitting architrave
Architrave needs a reasonably flat fixing surface. If fresh plaster or plasterboard sits proud of the door lining, deal with that difference before trying to pull the architrave across a large gap. Depending on the job, that can mean trimming back a high spot or packing the lining edge so the architrave has proper support.
Mark a consistent reveal around the door lining
Mark a small, even margin from the inside edge of the door lining around both sides and the head. A consistent reveal matters more than following a wonky plaster edge.
Cut and dry-fit the mitres before fixing
Cut the head piece first, then cut the side pieces to meet it. Standard square-corner architrave is normally joined with 45° mitres. Dry-fit the pieces and adjust the cuts before applying adhesive.
Fix MDF architrave with adhesive and lost-head nails
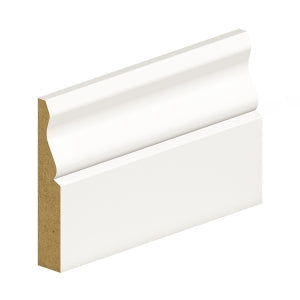
Apply a suitable grab adhesive to the back, line the architrave up with the reveal marks and secure it with suitable lost-head nails. A small amount of wood adhesive at a clean mitre can help keep the joint together.
Fill rigid defects and caulk the perimeter
Punch nail heads below the surface and fill the fixing holes before sanding. Use decorators’ caulk for small paintable gaps where the finished architrave meets the wall. A large unsupported gap behind the moulding should be corrected before this stage rather than hidden with caulk.
Finish the primed MDF
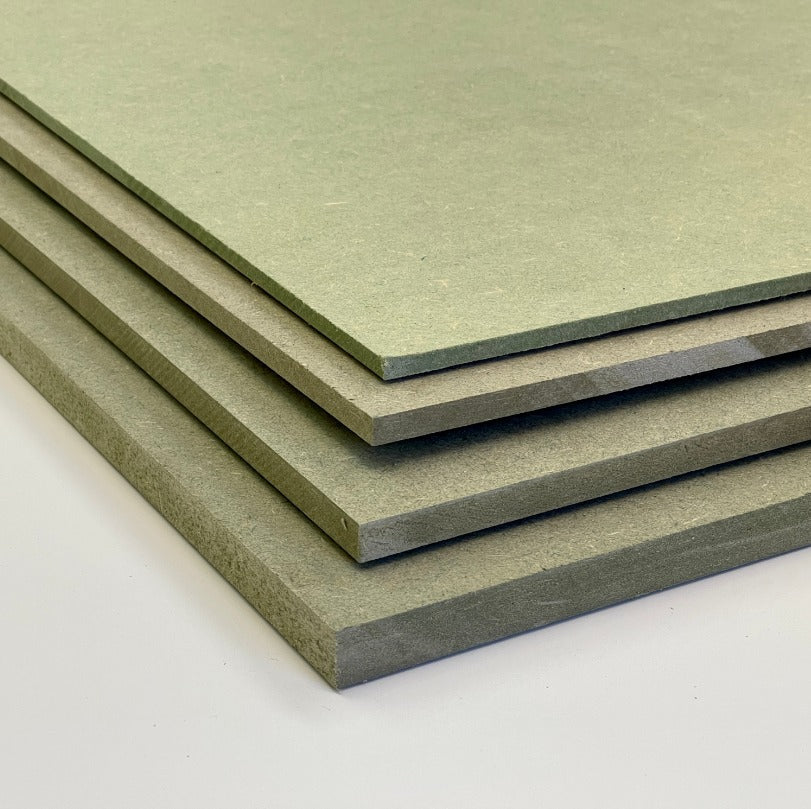
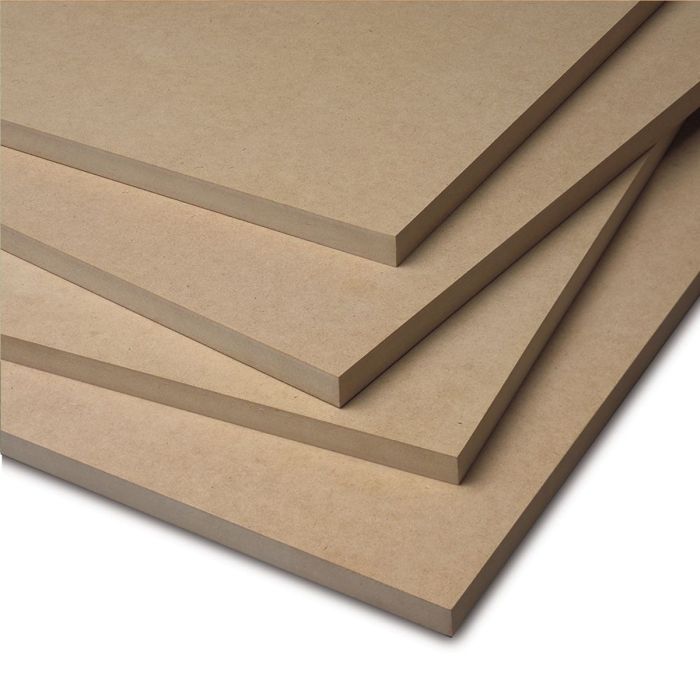
Our MDF architrave is supplied primed. Once the joints, fixing holes and perimeter are ready, lightly prepare the surface as required and apply the final paint finish.