

Description
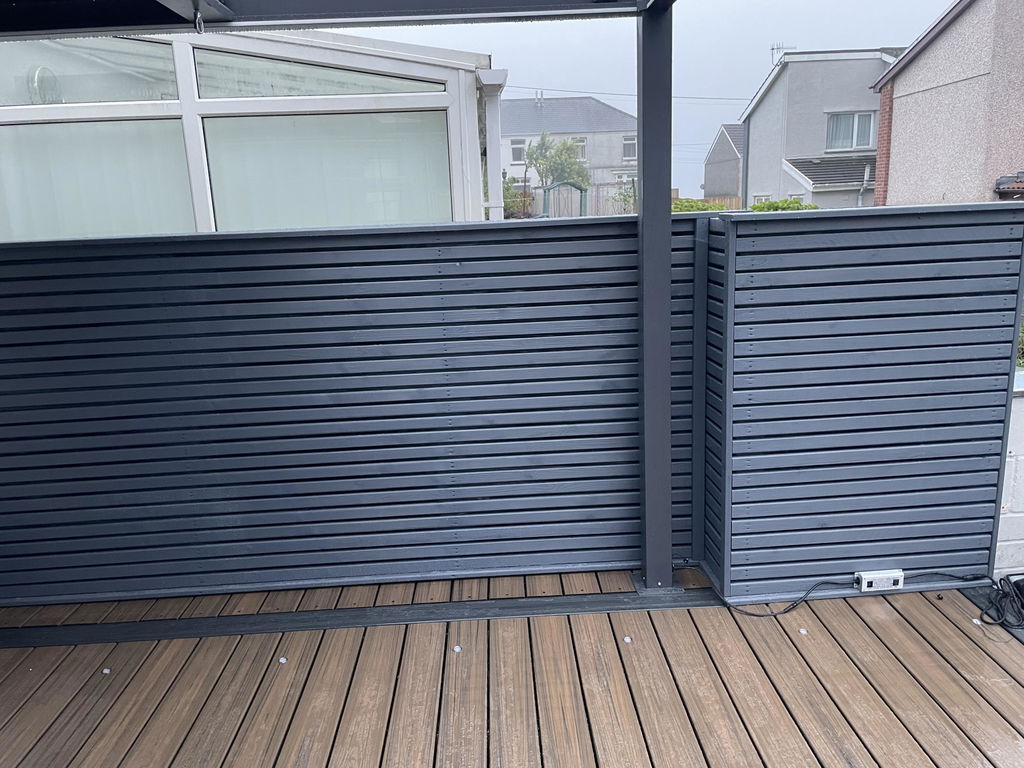
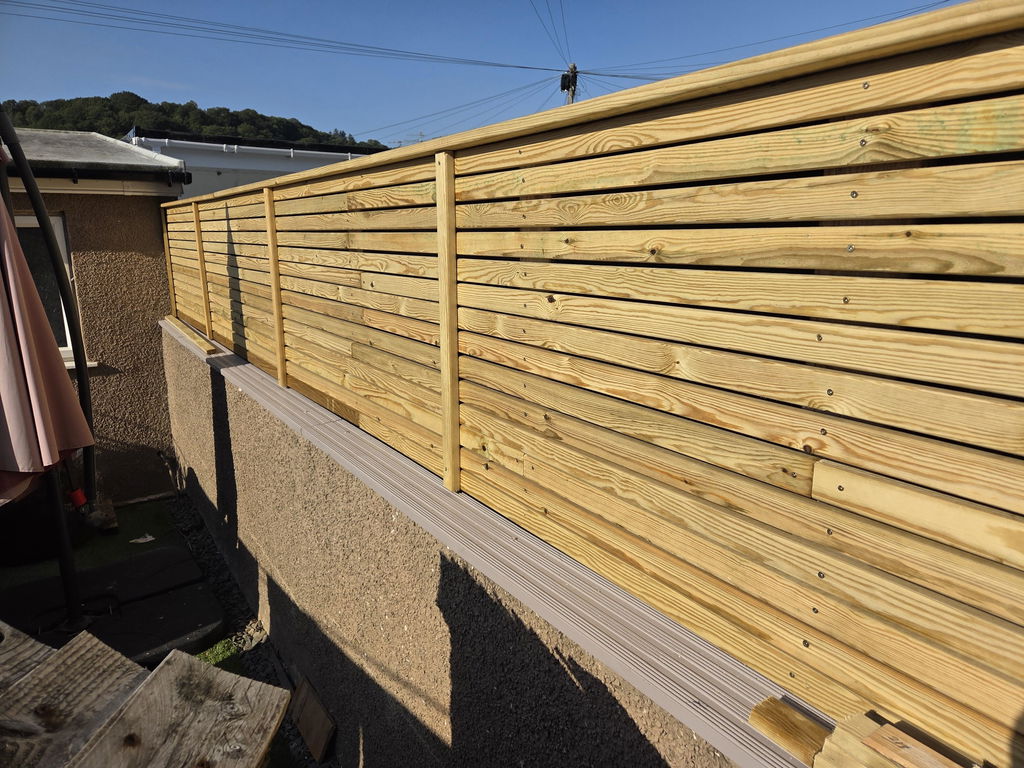
Landscaping battens are narrow lengths of smooth, treated timber used as the visible slats in modern fencing and garden screens. They can be fixed horizontally or vertically to fence posts and supports, with a gap between each batten to create the finished screen.
You may also see this timber described as fence battens, screening battens or timber fence slats. It is commonly used for slatted fencing, Venetian-style screens and hit-and-miss fencing.
Sizes
- 25 × 50mm (2×1) – Finished size 20 × 44mm
- 22 × 75mm (3×1) – Finished size 20 × 69mm
- 22 × 100mm (4×1) – Finished size 20 × 94mm
What are landscaping battens used for?
- Horizontal or vertical slatted fencing
- Venetian-style garden screens
- Garden privacy screens and dividers
- Hit-and-miss fencing
- Bin stores and utility screens
- Decorative timber screening and landscaping
How do you install landscaping battens?
- Set the main fence posts around 1.8m apart.
- Add intermediate support so the battens have a fixing point roughly every 900mm. The same rule applies whether the battens run horizontally or vertically.
- Fit black membrane now if you want a dark backing, extra screening or need to hide the background.
- Fix the first batten level, then use a spacer block to set the gap for each following batten.
- Screw or nail each batten to every support, checking the line regularly as you work.
For spacing, use around 10–20mm where privacy is the priority, or around 15–30mm for a more open garden screen.
On longer horizontal runs, stagger the butt joints rather than lining them all up. Leave around 1–2mm between adjoining ends for movement, and make sure every joint lands on a support.
For the full method, see how to build a slatted or Venetian garden screen.
Screws or nails?
Both work. For DIY installation, our preferred fixing is a 4 × 40mm Performance Exterior Screw – Silver Countersunk. Pre-drill the battens because this is small-section timber and can split if treated roughly.
Trade installers will often use a nail gun. A 38mm Galvanised Viper 16G Brad Nail gives a smaller, less noticeable head.
For the cleanest face, you can screw through the support from behind so there are no exposed fixings. Size the screws carefully: too short and the batten will not hold properly; too long and the screw can break through the finished face.
Add black backing for contrast or extra screening
Black weed control membrane can be fitted behind the battens to create a dark contrast between the slats. It also increases screening and works particularly well when the fence is being installed in front of old brickwork, a wall or anything else you want to hide.
Store battens carefully before installation
Small-section timber can move quickly if it is left piled on the floor or dries unevenly. Keep the battens supported and ventilated, let them dry slowly and evenly, and keep them out of direct sunlight while drying.
What about slopes and exposed gardens?
On sloping ground, the battens can follow the ground or the fence can be stepped. Following the slope gives a continuous line; stepped bays also work well. Mitred joints can finish a sloping run neatly, but they add more work.
The gaps in a slatted fence let some wind pass through, but do not rely on that instead of building the fence properly. In exposed areas, use larger posts, set them deeper and use suitable strong fixings.
How many fence battens do I need?
Use the Landscape Batten Calculator to work out the battens, posts, intermediate supports, Postmix and fixings for the job.
For more help, see which timber privacy screen layout to choose or how to build a hit-and-miss fence.
Not roofing batten
This is rounded-edge fencing and landscaping timber. If you need graded roofing batten for roofing work, use the separate roofing-batten range.
Browse the Landscaping & Screening Battens range.