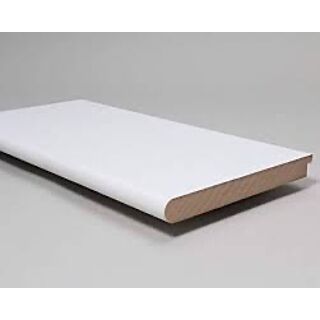
Quick answer: make the window opening sound and reasonably level first, dry-fit the board, then fix it with a suitable construction adhesive. Once it has set, caulk the small perimeter gaps and finish the primed MDF with paint.
Make the window ledge sound before fitting the board
Remove loose plaster, old adhesive and obvious high spots. Fill larger holes or damaged areas so the new board has a stable base. You do not need a perfectly finished surface underneath, but the board should not be bridging loose material or rocking on one high point.
Measure the recess in more than one place
Window reveals are not always square. Measure the width and depth at several points, then mark the MDF window board to suit. Allow for the front projection and any horns you want beyond the sides of the opening.
Dry-fit the window board before using adhesive
Cut the board, test it in the opening and trim or scribe it until it sits neatly. It is much easier to correct the fit before adhesive is applied.
Fix the board with construction adhesive
Apply a suitable grab or construction adhesive to the prepared ledge, position the board and press it firmly into place. Use a spirit level and pack where necessary so the board sits correctly relative to the window. Weight or brace the board while the adhesive cures if required by the adhesive manufacturer.
Caulk the small gaps after the board is fixed
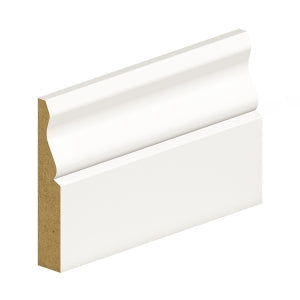
Once the adhesive has cured, fill small gaps where the board meets the walls or window frame with a suitable decorators’ caulk. The board is supplied primed, so complete the finish with your chosen interior paint system.
Choose the width before ordering
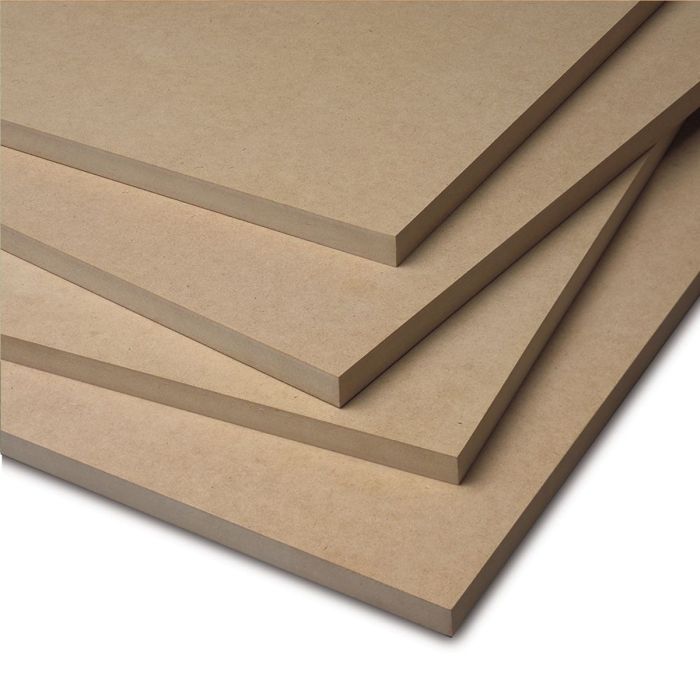
Our current Window Boards are 25mm thick and 3.6m long, with 225mm, 250mm and 300mm widths. Measure the full depth of your reveal plus the front projection you want before choosing the board.