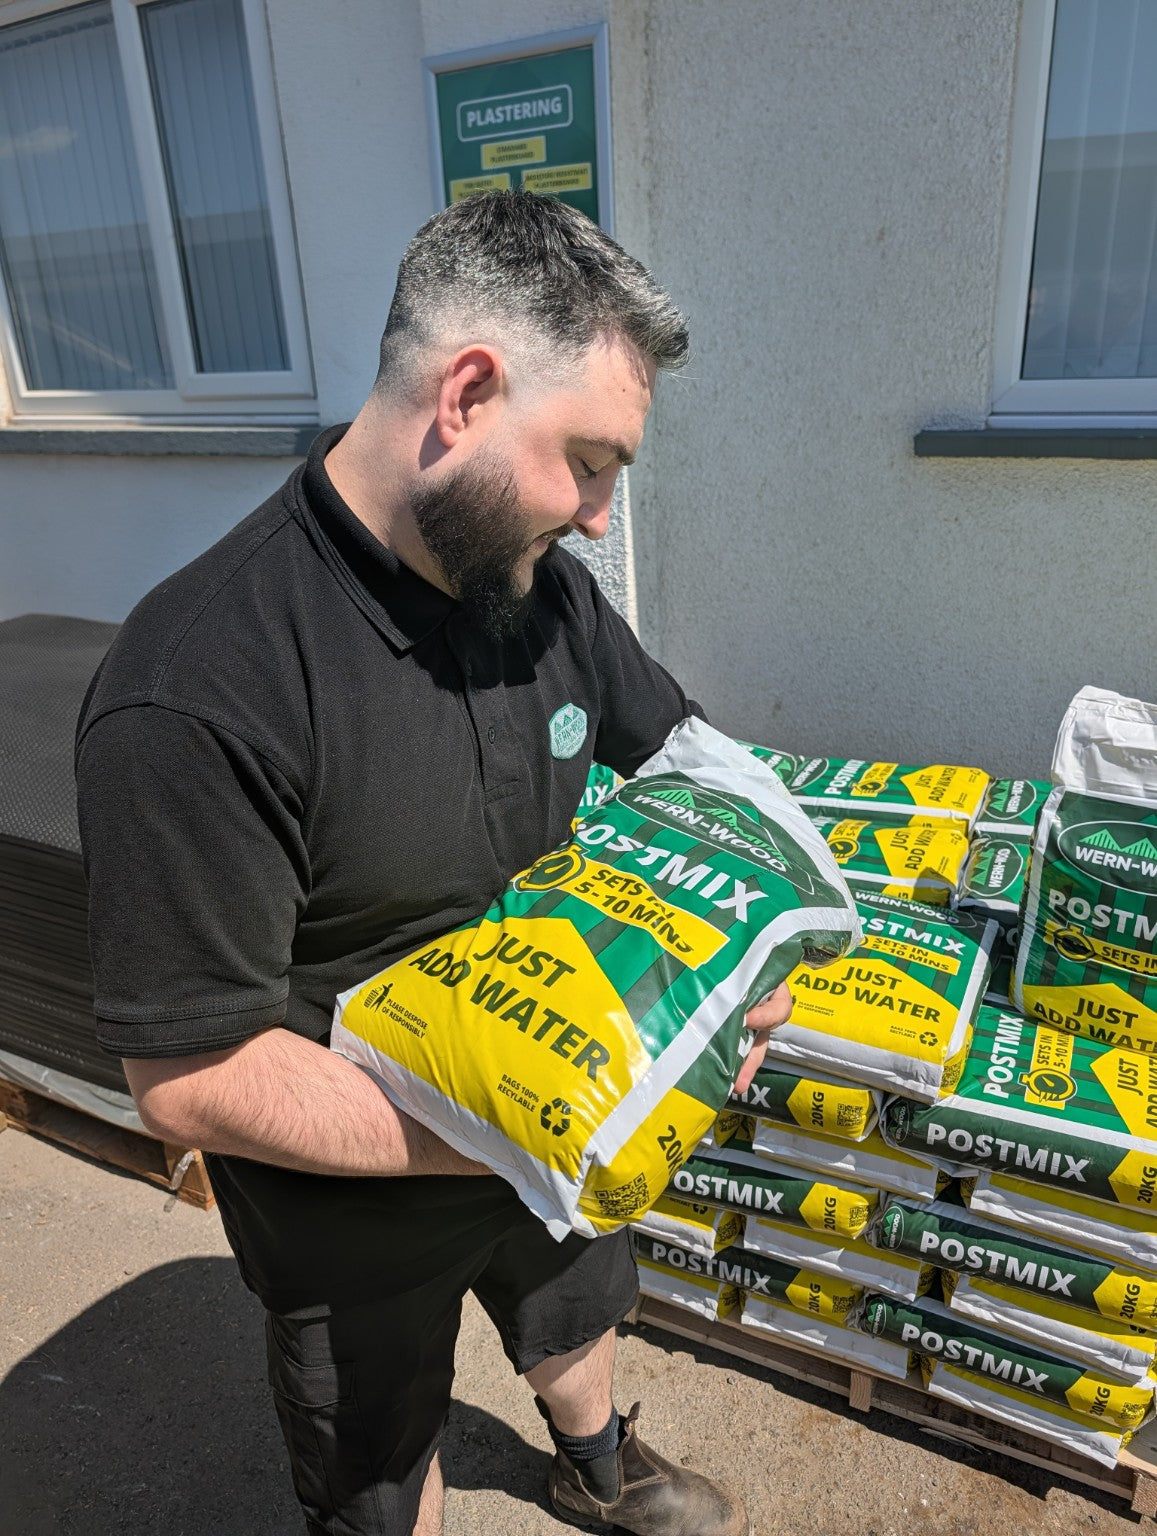
Quick answer: position and brace the post first, add clean water to roughly one-third of the hole, pour the Postmix evenly around the post, add a little more water only where needed and avoid moving the post while the mix sets.
Customers often search this as how to use Postcrete. This guide is our practical method for the Wern-Wood 20kg Postmix we sell. Postcrete is a recognised Blue Circle/Tarmac product name; Wern-Wood sells our own rapid-set Postmix.
Important: different rapid-set post concretes can have different instructions. Always follow the instructions printed on the bag you are actually using.
What you need before opening the bag
- Fence post or gate post
- Post hole at the right depth and width
- Clean water
- Spirit level
- Temporary braces or supports
- 20kg Postmix
Rapid-set material gives you very little correction time, so do the alignment work before you pour.
1. Put something solid under the post
We recommend keeping the end of a timber post off direct soil where practical. A brick, stone, piece of hardcore or similar solid material is fine.
The aim is simple: avoid leaving the cut end of the post sitting directly in wet soil.
2. Position and support the post before you pour
Get the post on the fence line, check it with a spirit level on two faces and brace it before you start. Do not rely on adjusting the post after the Postmix has started to set.
3. Add water, then pour the Postmix evenly
For our normal method, add clean water to roughly one-third of the hole, then pour the dry Postmix evenly around the post rather than emptying the whole bag in one heap.
For a standard 75mm or 100mm timber post, our normal buying allowance is around 1.5-2 bags per post. For most full fence runs, buying 2 bags per standard post is the simpler rule. See the Postcrete / Postmix quantity guide for concrete posts and gate posts.
4. Avoid dry pockets
With Wern-Wood Postmix, we normally make sure the material has taken up water evenly and there are no obvious dry pockets. You are not trying to turn it into a wheelbarrow batch of concrete; you are making sure the mix is wet through around the post.
Add a little more water only where needed. Do not leave puddling water or obvious dry powder.
5. Check the post immediately
Check the post again with a spirit level as soon as the Postmix is in. If it needs a small adjustment, make it straight away, then leave it alone.
6. Leave the supports on for as long as practical
Our current bag states a setting time of around 5-10 minutes, but setting and curing are not the same thing.
The post may stand quickly, but the footing is still young. For rails, we would normally wait around an hour before working on the post where the job allows. Contractors vary, but the main point is to avoid too much movement while the footing is fresh because it can crack or weaken the support.
7. Finish the top so water can run away
Our preference is to finish the Postmix so water does not sit around the post. A slight crown or slope away from the timber is good practice.
Some customers prefer soil over the top for appearance. That can be done, but if soil will sit around the timber, protect the post at ground level with a suitable sleeve or bitumen coating.
If the hole is too wide
An oversized hole quickly eats Postmix. If it is much too wide, either pack the sides firmly and dig it again, use a simple scrap-plywood form where suitable, or accept that you will need an extra bag.
Trying to fill the sides with loose hardcore can create the opposite problem and leave too little room around the post.
For gate posts, increase the footing
Gate posts need more support than ordinary fence posts, particularly on the hinge side. Do not simply copy the footing from an intermediate fence post.
Shop Wern-Wood 20kg Rapid-Set Postmix. If you are deciding between rapid-set Postmix and traditional concrete, see Postcrete vs Concrete for Fence Posts.