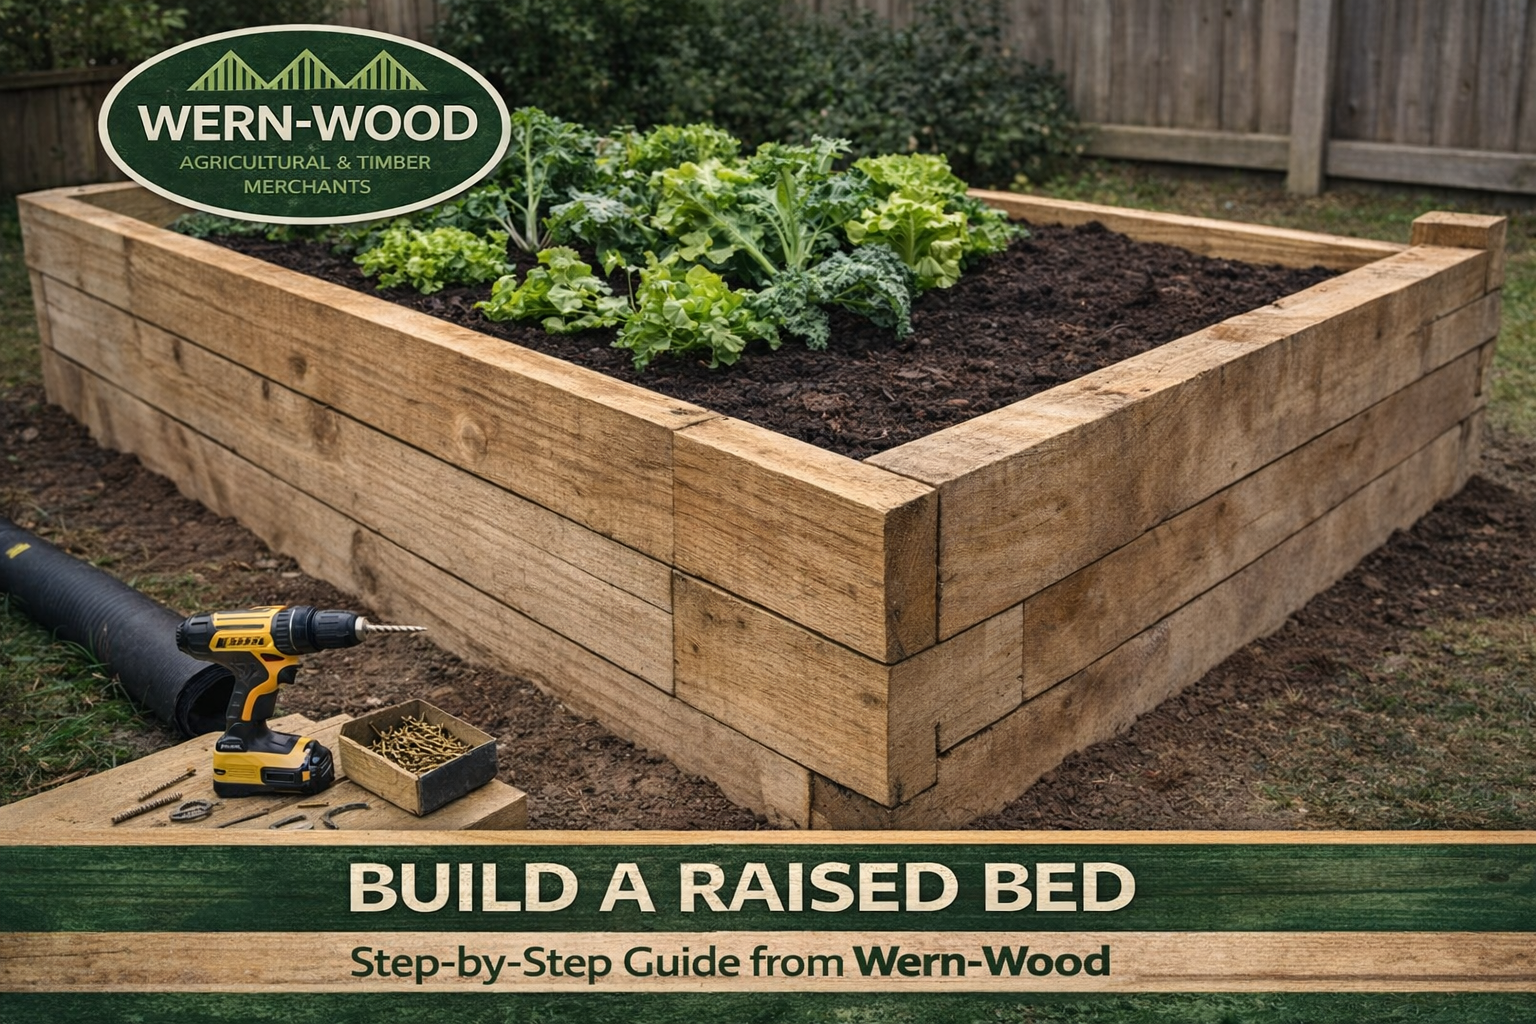
To build a raised bed with garden sleepers, start with a level base, build and square the first course, fix the corners securely, add support where the long sides need it, then line the soil-facing sides before filling.
Garden sleepers are a good fit for raised beds because the 195 x 95mm section is substantial, easy to lay out and available in several lengths. The main thing is to plan the timber and fixings before the soil goes in.
What you need
- 195 x 95mm pressure treated garden sleepers
- Sleeper corner brackets
- Structural timber screws
- Sleeper support spikes where ground restraint is useful
- Weed membrane for the inside faces
- Suitable tools for measuring, cutting, levelling and drilling
- End-grain preservative or wood preserver for freshly cut ends
A practical 2.4m x 1.2m two-sleeper-high material list
For a straightforward 2.4m x 1.2m raised bed built two sleepers high on suitable ground, this is the material list we would start with:
- 4 x 2.4m garden sleepers
- 4 x 1.2m garden sleepers
- 8 sleeper corner brackets
- 6 double sleeper support spikes
- 1 pack of 65mm Performance Hex Drive Structural Timber Screws
- Weed membrane
The exact fixing layout can change with the site, but this gives you a sensible complete starting point rather than ordering the timber first and trying to work out the hardware afterwards.
1. Plan the bed around the sleeper lengths
Use full lengths where they suit the design. It reduces cutting, waste and unnecessary joints.
For example, a 2.4m x 1.2m bed can use full 2.4m sleepers for the long sides and 1.2m sleepers for the ends. One sleeper high uses two of each length. Two sleepers high uses four 2.4m sleepers and four 1.2m sleepers.
If you want a different width, choose the nearest useful sleeper length or cut the end pieces to suit.
2. Prepare a firm, level base
Remove loose vegetation and soft material from the sleeper line. The first course needs to sit level and stable; any twist or height difference at the bottom becomes harder to correct as the bed goes up.
Where possible, use a bed of gravel beneath the sleepers rather than laying them directly onto soil. It gives water somewhere to move and reduces the amount of time the bottom face sits wet. Concrete or mortar can also work, provided the finished base still allows water to drain away.
3. Cut the sleepers and protect fresh ends
Our sleepers are 195 x 95mm, so many handheld power saws will not cut through the full section in one pass. Mark the cut squarely, cut as far as the tool allows, then turn the sleeper to complete it.
Treat freshly cut ends with a suitable end-grain preservative or wood preserver before assembly. If you would rather avoid cutting them yourself, ask us about cutting the sleepers before delivery or collection.
4. Build and square the first course
Lay the first four sleepers in position and check the finished dimensions. Measure diagonally from corner to corner; if both diagonal measurements are the same, the frame is square.
Do this before tightening everything. A small error is easy to correct while the frame is empty and much harder once it is fixed and filled.
5. Fix the corners
Internal sleeper corner brackets are a clean way to reinforce the inside corners without showing hardware on the outer face.
Use the shorter Performance Hex Drive Structural Timber Screws with brackets where the fixing depth suits. Longer structural screws can also be used for direct sleeper-to-sleeper connections where the joint allows useful embedment into the second timber.
6. Restrain the long sides where needed
Wet soil pushes outwards. The longer and higher the bed, the more useful side restraint becomes.
On soil, Sleeper Support Spikes can support straight runs and corners. The range includes single- and double-sleeper options, so match the support to the height and position in the bed.
If several sleeper lengths meet along one side, support the joint rather than relying on the weight of the timber to keep it aligned.
7. Add the second course
If the bed is two sleepers high, get the first course square and secure before adding the second. Keep the corners aligned and tie the courses together with suitable brackets, spikes or structural screws.
Where the layout allows, avoid putting every end joint directly above the joint below.
8. Line the soil-facing sides
Use weed membrane between the sleeper and damp soil to help separate the inside face from the growing medium while still allowing drainage.
Line the sides rather than sealing the whole bed like a tank. Water still needs a route out through the base.
9. Fill the bed
Fill gradually and watch the long sides as the soil level rises. If a side begins to move, add restraint before continuing rather than hoping the weight of the timber will hold it.
What should you expect from the sleepers?
These are smooth-sawn landscaping sleepers, not planed joinery timber. Small splits and checks are normal in a large timber section and can become more visible as the timber dries. Fresh treatment can also leave a slight green tint which normally fades towards brown after a few weeks outdoors.
Ready to build?
Start with the Garden Railway Sleepers range, then add the brackets, spikes and structural screws that match your layout. If you are unsure which fixing method suits each part of the bed, see How to Secure Garden Sleepers.